Hipcamp Host Photography 101

When setting up your Hipcamp, one of the most important considerations is which photos you choose to represent your property. Photos are the face of your business and can be vital to your success! Because of this, it’s crucial to understand the purpose of photography, how to prepare your site for photos, how to take the best photos possible, and how to use these photos to market your Hipcamp business. Let’s get started!
Table of Contents
4 Main Goals of Hipcamp Listing Photos
1. Reduce uncertainty
The No. 1 goal of listing photography is to reduce uncertainty in what the property will be like in real life. You don’t need to be a seasoned photographer to take photos that provide context and ensure Hipcampers get a clear idea of what it would be like to camp with you. With proper expectations, Hipcampers feel more confident booking a stay and are more likely to leave a positive review.
2. Highlight your amenities and features
Photos that showcase property features and available amenities are a good idea, because they help Hipcampers decide if your property is a good fit for their needs.
3. Inspire Hipcampers to book
Photos should inspire and excite potential Hipcampers! Browsers are unlikely to make a booking if photos aren’t inviting or appealing, so they should be visually attractive, showing off the best attributes of your property. This typically leads to more views and more bookings.
4. Market your land and property
Photography is one of the very best ways to market your Hipcamp property and get featured on Hipcamp social media. Marketing goes a long way in introducing your land to new potential customers and growing your business.
How to Prepare Your Property for Photos
Get the timing right, and you’ll get the lighting right.
The best time to take photos of your land is during what’s known as “golden hour.” This is just before dusk, about an hour before sunset, when sunlight is even and soft across the sky—it gives your images a warm, glowy feel. If this time isn’t possible or your site is fully shaded, you may need to visit a few times to determine when you get the best lighting—always snap a few test shots for reference. Avoid taking photos in mid-afternoon when sunlight is harsh and uneven shadows are common, and also be sure to take snapshots before it gets too dark out.
If you have a structure site, like a cabin or bell tent, it’s best to take interior images when the sun is high and bright to increase natural lighting inside. (Pro tip: Turn off any artificial lights, and instead let the sun brighten up the space by opening window shades.)

Take weather into consideration.
It’s best to take photos on a day with blue skies and sunshine, as this makes everything appear warm and inviting. Avoid overcast or rainy days, which can make images appear solemn and spooky. And keep weather effects in mind! If your property is especially muddy after a storm, for example, give it time to recover before taking photos. If you get distinct seasons where you host, it can also be useful to feature photos from multiple times of year so Hipcampers can see your sites in both summer and snow.
Do some light landscaping and cleanup.
Your property looks its best with a bit of tidying. Mow the area around your campsite(s), remove any surrounding clutter or unnecessary items, and do some basic landscaping to get things clear and organized for photos.

Stage the site to set the scene.
If you have a tent listing, stage a campsite! Simply setting up a tent means your photos will help Hipcampers imagine what it’s like to stay on your land, and make your place more attractive. Add some extra detail by setting up some chairs, a lantern, roasting sticks, or even lighting a fire (if safe and applicable)—whatever Hipcampers might enjoy at your property!
Getting Started with Photography Basics
Image framing
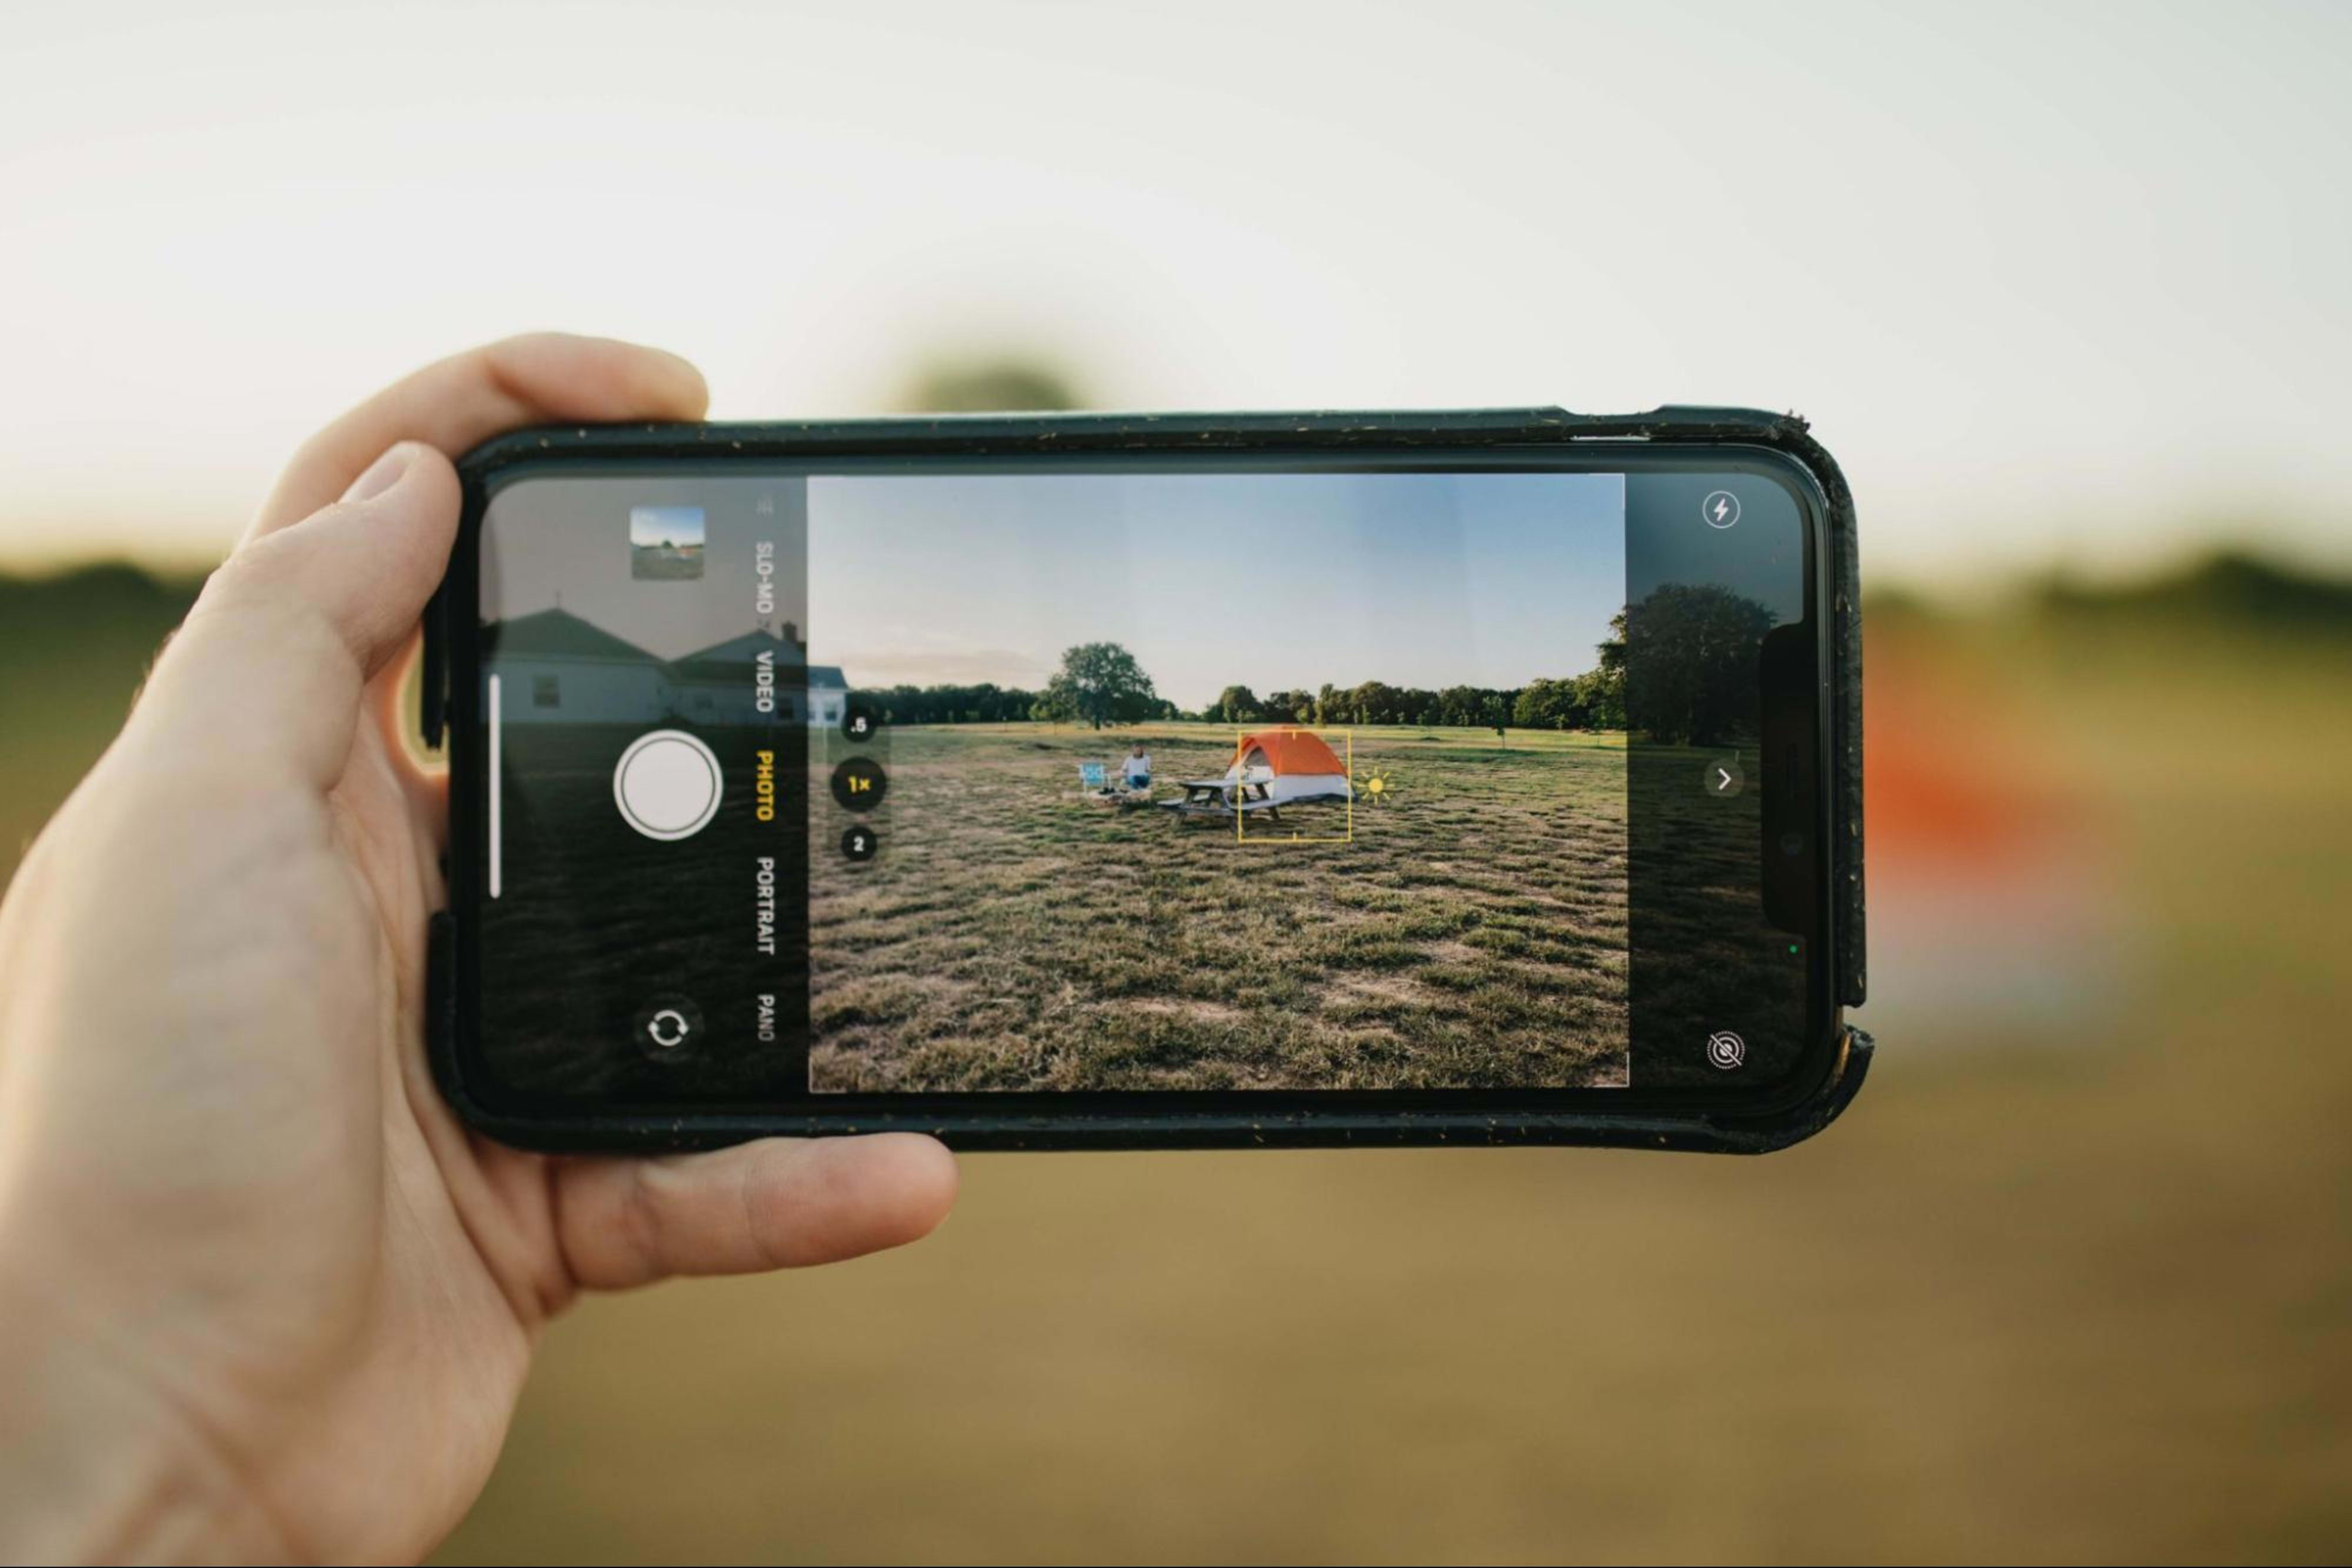
Make sure all photos for your listing page are horizontal, in landscape orientation. The Hipcamp app and website display images best in horizontal form, so this ensures your property appears cohesive and well-framed online. To achieve this, simply take images with your phone or camera held sideways (horizontally), center the campsite within the photo, and ensure any background lines (like the horizon) are as straight as possible.
Image editing
Image editing, if any, should be minimal, as it’s important that the images are an accurate representation of the land. That said, here are a few ways to make photos look even more like the real-life scene.
- Add just a touch of brightness to slightly increase the image’s warmth.
- Boost the saturation a *tiny* bit (seriously, don’t overdo this one!), to make your images more inviting and appealing, while still maintaining a natural representation of the scene.
- Rotate the photo (if needed) to straighten background lines.
- Crop photos (when necessary) to center your subject.
Listing Image Content and Ordering
Photo selections and the order in which they appear on your Hipcamp listing page are important factors that contribute to your success. The following photo types and suggested orderings have proven to be effective ways to showcase your Hipcamp.
Photo #1: Broad listing overview
Your first photo is most important, as it’s the first impression you make to browsing Hipcampers who want to see the actual campsite where they might stay. Typically, it’s best that this photo is a broad overview of the site.
Photos #2-3: Special property features
In the second and third images, you’ll want to show off the best parts of your land, even if they’re not directly at the campsite. This could include a pond or body of water, a beautiful lookout point, an amazing hiking trail on your land—any one or two images that really show off the greatest spots on your property.
Photos #4-5: Unique experiences and activities
These slots should showcase any unique activities available you offer. Maybe you allow guests to pick their own vegetables, you have some farm animals they can greet, or you offer a morning yoga class. Feature anything fun and unique about your Hipcampers’ stay.
Photos #6-7: Amenities
Here you should display any important amenities you offer, from campfire rings and electricity availability to an outhouse setup (Hipcampers want to know!), or basics like water or firewood. This information helps prospective campers understand what will be available to them at your Hipcamp.
Photos #8-10: Context-setting images
For the last few images in your top 10, we recommend taking photos that show what else is around the actual campsite. In order to get good reviews, you’re going to want to set privacy expectations correctly, so Hipcampers are unsurprised when they’re near other campers, animals, or buildings. In these example longer-distance images, you can see that the farmhouse is fairly close to the campsite, which you may not have noticed by only seeing the other photos.
Additional images to consider
If relevant to your listing and offerings, you may also want to include images of road conditions and parking areas, any gifts or Extras you offer, nearby off-property attractions such as state parks, or perhaps a Host portrait to remind guests of the business owner they’re supporting!
Using Images for Campground Marketing
Once your images meet the primary goals of reducing uncertainty, informing about your amenities, and inspiring Hipcampers to stay with you, you’re well on your way to success! Marketing your Hipcamp to reach new customers can also extend beyond your listing page to social media and beyond. Watch our recorded Hipcamp Host webinar, How to Market your Hipcamp, for more tips and tricks for growing your business.
The Hipcamp Photography Program
If you’d like to upgrade your photos and you’re in an eligible region, you can opt in to the Hipcamp Photography Program in your Host Dashboard. In this program, we do our best to connect you with one of our professional photographers to verify, review, and take 10 to 15 photos of your land. All you have to provide is an optional free night’s stay. If the program is not yet available in your area, stay tuned—we’re adding more photographers every day!
In summary, photos are an incredibly important way to share all you have to offer, as they’re the first impression Hipcampers get when clicking on your land. Photography is a skill that is always being developed (yes, we went there), and with a bit of practice, your photos will be sparkling in no time at all! Just keep photos light, warm, and inviting, and you’re sure to attract more campers and earn more business. Good luck, and happy snapping! 📸
Any questions?
If you have a question you didn’t see answered here, check out our pre-recorded Host Photography 101 webinar for a more in-depth version of this guide, or feel free to reach out at hi@hipcamp.com.
Looking to more Hipcamp hosting tips?
Read on for more tips and tricks for finding success with Hipcamp.
Recent Posts
Synchronous Fireflies: Your Guide to the Great Smokies’ Annual Light Show in 2024
Up and down the Eastern US, fireflies (or lightning bugs) are an essential part of summer nights, twinkling against the…
Morel Mushroom Hunting Season: The 2024 Camping Guide
Spring is springing. And we all know what that means—the 2024 morel mushroom season is underway. To increase your chances…
Top Wildflower Hikes in the Great Smokies
Great Smoky Mountains National Park glows every shade of green in spring and early summer, its lush forest landscape featuring…
These Hipcamp Hosts are Making the World a Better Place
We couldn’t be more proud to partner with thousands of incredible Hipcamp Hosts who share their land with others, opening…
Where to See Bluebonnet Fields in Texas This Spring
As the days grow warmer under the Texas springtime sun, the green spaces along the roads and highways of the…
Host Spotlight: How These Texas Retirees Have Maintained a Perfect Rating for 7 Years
Landowners are partnering with Hipcamp to earn extra money by connecting their properties with folks looking to stay and camp…