10 DIY Fire Pits You Can Build on Your Land

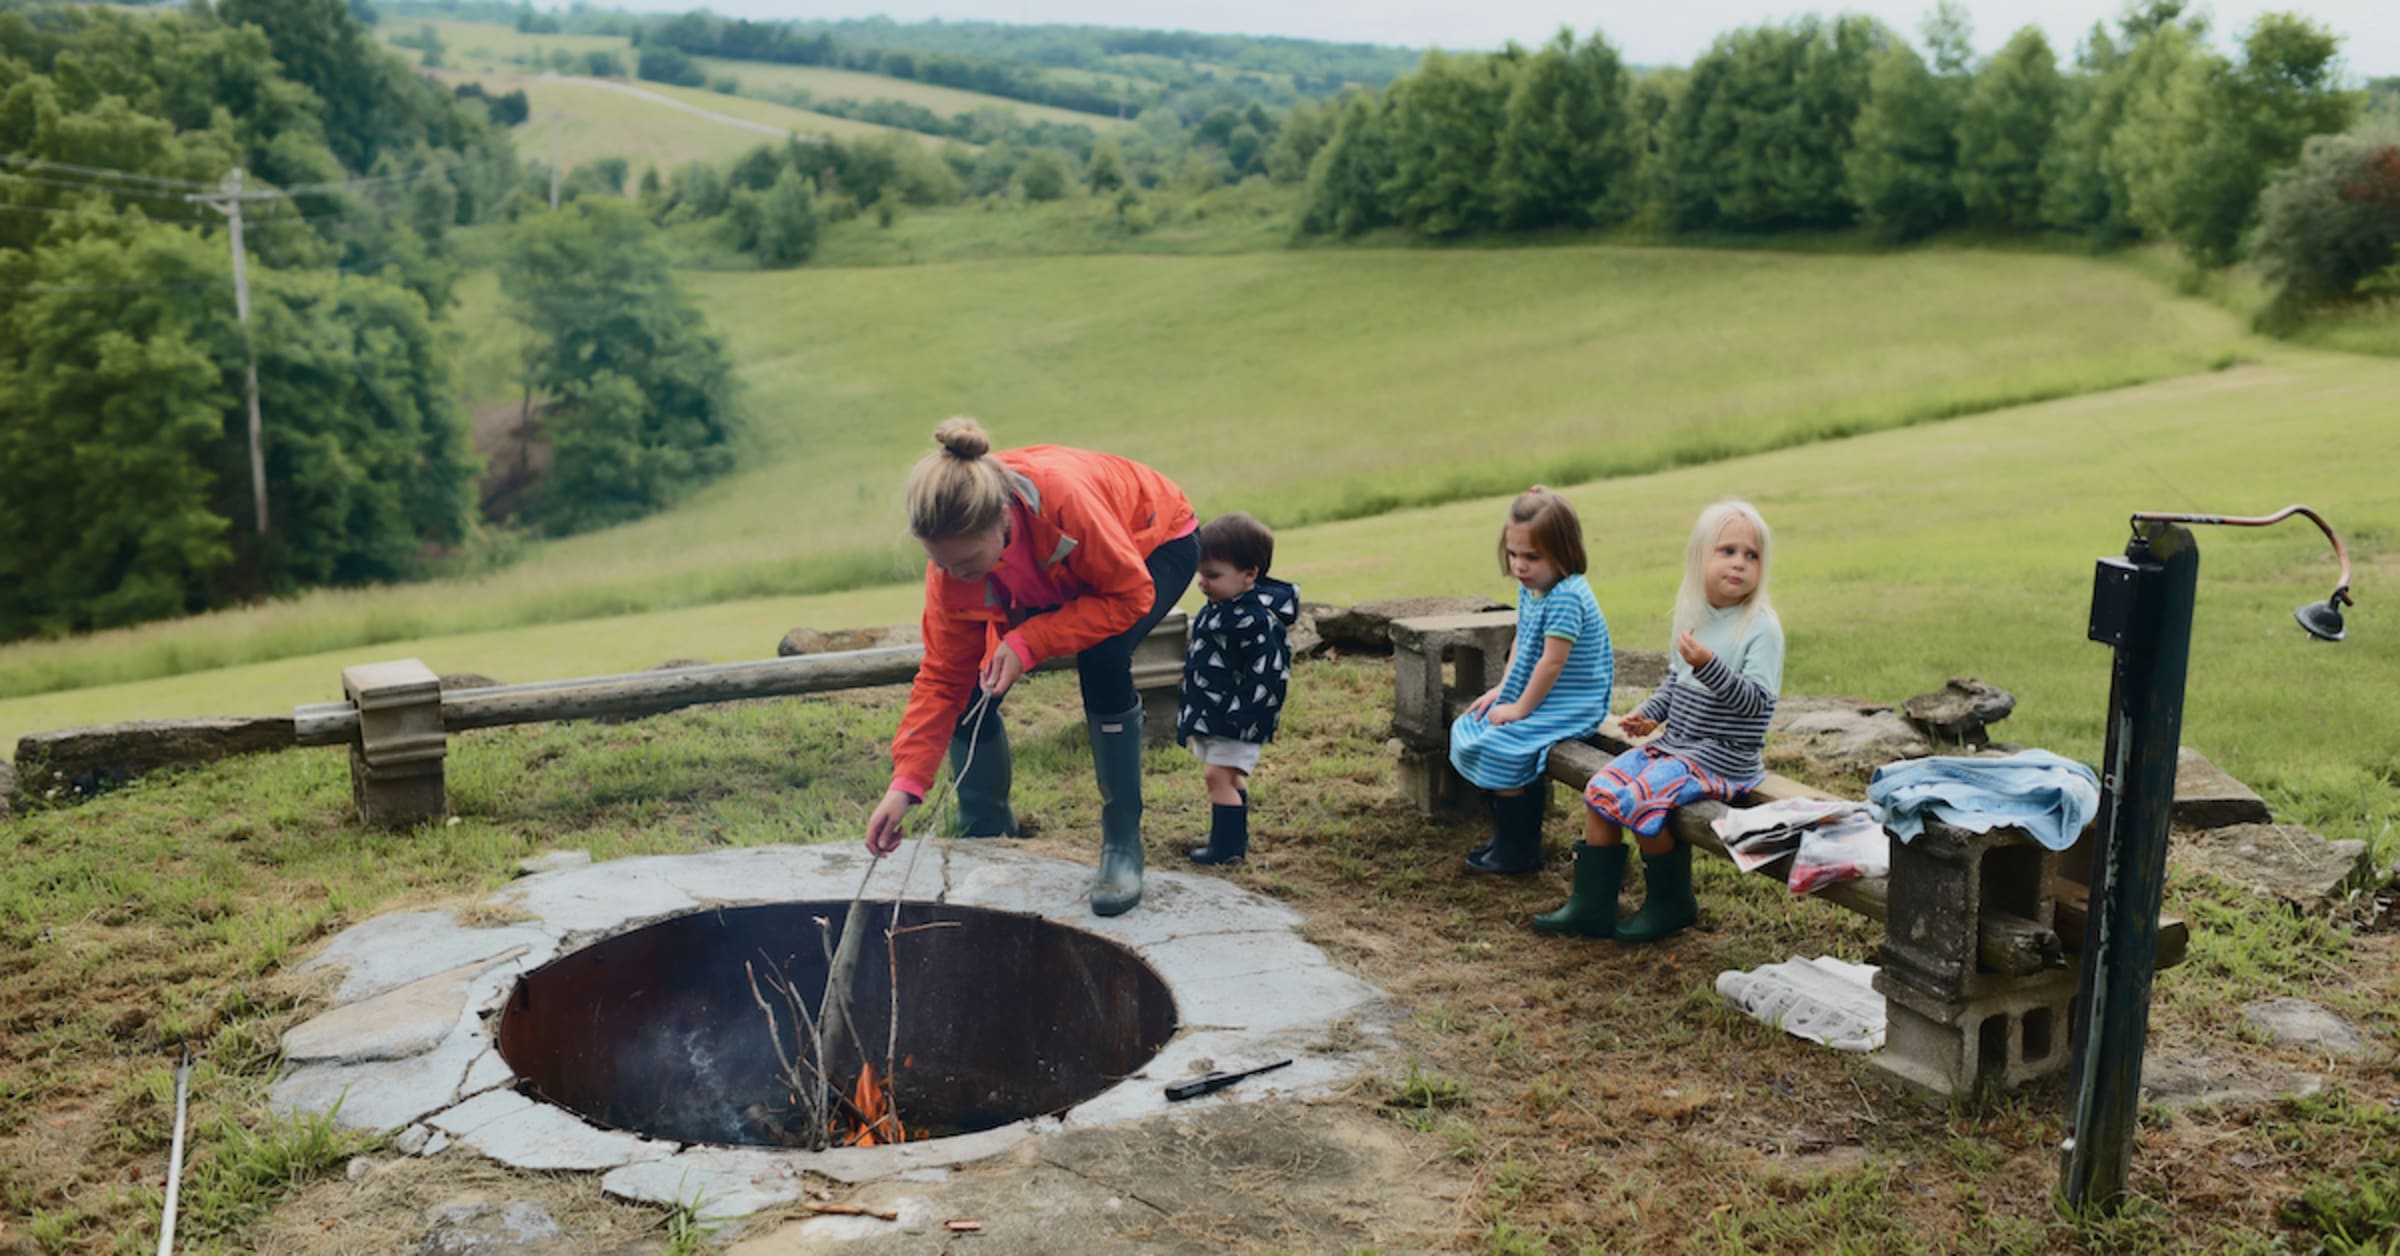
There are few things in life as nostalgic as sitting around an open fire on a crisp, starry summer night. We love sharing stories, singing songs, wrapping our loved ones in cozy blankets, and staying up late to watch the flames sizzle into flickering coal. Whether you have a backyard or a Hipcamp property of your own, building a DIY fire pit on your property is sure to add warmth—both literally and figuratively—for years to come.
The basic process for building a fire pit is essentially universal: dig a hole, surround it with rocks. If that’s enough for you, what are you doing still reading? Git to diggin’ already! But for the rest of us, we put this collection together to inspire the perfect pit. Whether big or small, cheap or pricey, one thing is certain—people will love it.
Plus, fire pits are at the top of most campers’ wishlists when it comes to campground amenities. To earn extra income, consider becoming a Hipcamp Host and listing your land for campers to book.
Getting Started & Staying Safe
Without further ado, there are 3 basic ways to build a fire pit, and we’ll run through these in more detail below. You can use:
- Firebricks ($$$)
- A metal ring lined with pavers, stones, or bricks ($$)
- Pavers, stones, or bricks in a hole, but these will eventually crumble or explode ($)
No matter which of the above you opt for, safety is our No. 1 concern, and we’ve got a few things you’ll need to keep in mind.
- Find a clear, level spot for your fire pit. This should be well away from low-hanging trees, bushes, and structures, and you should consider just how windy a spot may be at any given time. While a fire on a mountaintop may sound romantic, whipping winds will cause issues—fires are hard to start and flying embers are a real safety concern.
- Use proper materials. Regular clay bricks can crack under high temperatures, so firebricks and rated metal rings are best for the inner lining.
- Equip the area with safety items. Place a fire extinguisher or bucket of sand and water at every fire pit.
- Consider placing educational materials near the pit. Live fire-making demos or simple printed guides are helpful for guests to get comfortable with your fire pit.
- Have fire starters or matches on hand. This is useful for less-prepared guests and convenient for everyone. You can find fire starters on Amazon.
- Get yourself a good shovel. This will be handing for cleaning your fire pit.
Types of DIY Fire Pits


1. The Sure Fire: An In-Ground Pit
- Materials
- Three 5-gallon buckets of lava rocks
- 36 firebricks
- 14 flat stones
- Cost: $200-$350
- Pros: Safe, long-lasting, simple, durable, easy to make, good-looking, economical
- Cons: We can’t think of any, can you?

2. The Zen Garden
- Materials
- Three 5-gallon buckets of sand
- 30-60 concrete pavers
- Tiny rake
- Cost: $75
- Pros: Cheap, easy, good-looking
- Cons: Pavers may crumble over time with heavy use
3. The Achiever: A Brick Fire Pit
- DIY instructions
- Materials
- 25 firebricks
- 100-160 face bricks
- Concrete
- Cost: $100-$500
- Pros: This thing isn’t going anywhere!
- Cons: This thing isn’t going anywhere.

4. The Get’er Done: The Easiest of Them All
- Materials
- A couple of cinder blocks
- Cost: $0
- Pros: Simple enough that a couple of kids could probably make one
- Cons: Cinders may crack and eventually explode
5. The Ski Resort
- Materials: metal fire ring, 36 pavers, four 5 gal buckets of small stones, cool decorative stones, palo santo sticks, expensive craft beer.
- Cost: $$$ ($300-$600)
- Pros: Make your place look like a ski chalet, impress your friends!
- Cons: Maybe now you can’t afford to go skiing with your friends.

6. The Cave Man
- Materials: gathered river stone from a blessed body of water, sage to cleanse
- Cost: good intentions
- Pros: Craft a rustic experience of being one with nature in nature, by nature, for nature.
- Cons: Exposure to heat and time will wear down cinder blocks, so you may have to replace them later.
7. The Minimalist
- Materials: Those cinder blocks are still just laying around the yard.
- Cost: $0
- Pros: Elevate yourself!
- Cons: Still not fire-proof.

8. The Flower Power
- Materials: 36 pavers, a metal ring, good vibes
- Cost: $150-300
- Pros: Allows you to access your inner flower child and maybe even dance naked!
- Cons: Use fire-resistant metal with airflow holes or you’ll be just another cold, naked hippie dancing around a metal can.


9. The Family Matters
- DIY Instructions: https://prodigalpieces.com/diy-fire-pit-backyard-budget-decor/
- Materials: 106 bricks (make sure ~60 of them are firebricks for the actual pit), 2 ton of #8 limestone or pea gravel, landscaping fabric, Adirondack chairs, cute family
- Cost: $$$
- Pros: This is the most kid-proof pit, perfect for creating family memories that last a lifetime.
- Cons: Firebrick and landscaping fabric are key words, people! Regular clay bricks will crumble from heat. Regular plastic tarps will prevent water from seeping down into the soil (BAD!), transforming your fire pit into a child-size kiddie pool when it rains.

10. The Over Achiever
- Materials: a dream, a (wo)man, and a plan
- Cost: ???
- Pros: If you build it, they will come.
- Cons: You can’t get them to leave.
Hopefully one of these designs will “spark” your imagination in building the “hottest” pit on the block (campground, county, or planet). Already have one made? Do us a favor and tag us on Instagram @hipcamp. We’d love to see your handiwork! Double extra credit for coming up with the most creative name and description…
If you do decide to make an awesome fire pit on your land, but aren’t yet a host, check out how to share your pit and land with Hipcampers here!
Happy tending, ya’ll!
Recent Posts
Synchronous Fireflies: Your Guide to the Great Smokies’ Annual Light Show in 2024
Up and down the Eastern US, fireflies (or lightning bugs) are an essential part of summer nights, twinkling against the…
Morel Mushroom Hunting Season: The 2024 Camping Guide
Spring is springing. And we all know what that means—the 2024 morel mushroom season is underway. To increase your chances…
Top Wildflower Hikes in the Great Smokies
Great Smoky Mountains National Park glows every shade of green in spring and early summer, its lush forest landscape featuring…
These Hipcamp Hosts are Making the World a Better Place
We couldn’t be more proud to partner with thousands of incredible Hipcamp Hosts who share their land with others, opening…
Where to See Bluebonnet Fields in Texas This Spring
As the days grow warmer under the Texas springtime sun, the green spaces along the roads and highways of the…
Host Spotlight: How These Texas Retirees Have Maintained a Perfect Rating for 7 Years
Landowners are partnering with Hipcamp to earn extra money by connecting their properties with folks looking to stay and camp…